MY HEADBAND INSPIRED BY DEBBIE BLISS
I have never knitted small projects, always preferring the bigger, more satisfying stuff, like sweaters and cardigans. However, after sewing so much recently, I was inclined to indulge in some small and fast projects, for some instant gratification.
Upon completing my Debbie Bliss Taking A Break sweater (see previous knitting blog) I had a hank of wool left over. What was I going to do with it?
I would normally put it away in my cupboard for a rainy day, but I have vowed not to waste my wool anymore.
I feared that if I began a project such as gloves or a bag of some kind, I might find myself running out of yarn. So, I decided to take my chances with a headband. Nothing too complicated; and something which would undoubtedly prove practical.

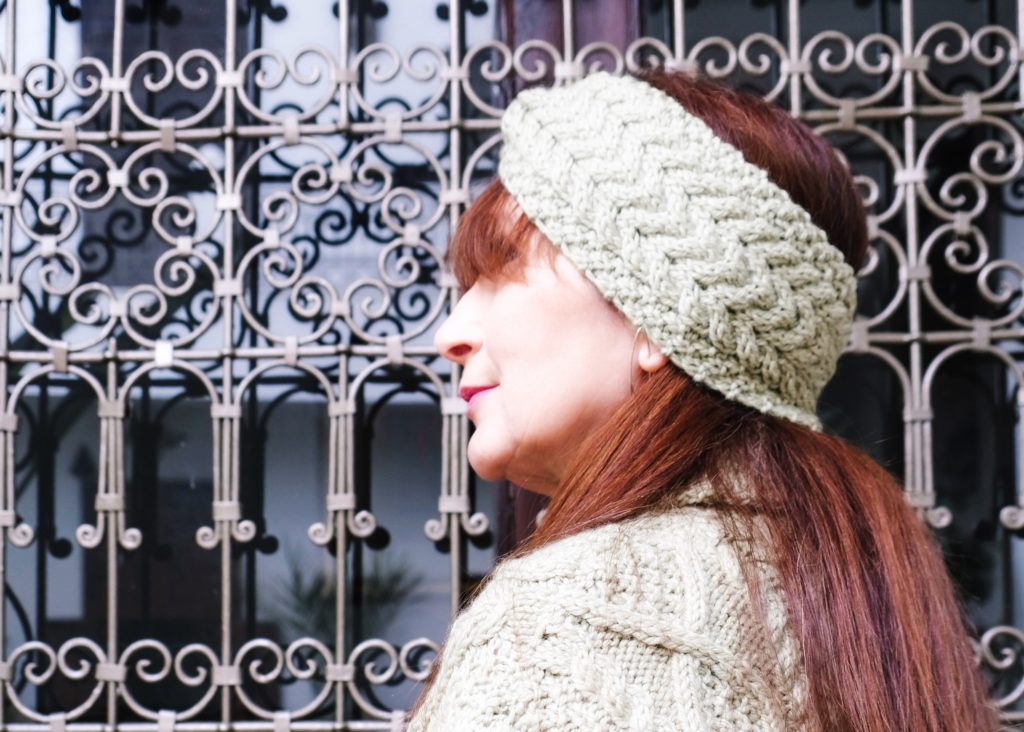
I like the way that the headband can be worn two ways, I have a feeling that knitting these could become addictive!
CREATING THE PATTERN
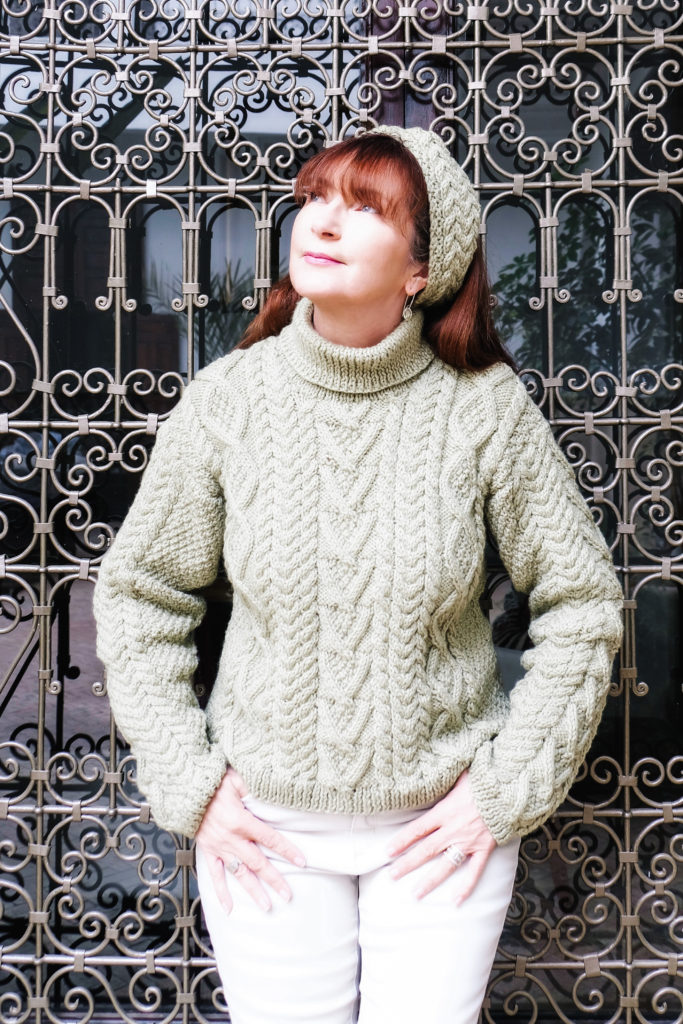
It would be a simple task to create my own pattern, based on the jumper that I had just completed, and for which it was intended to accessorise.
Once I settled on an approximate width, I worked out which combination of pattern panels would fit. A simple & quick task: this was fun and easy knitting!
All I had to do now was to keep knitting until my headband fitted me. What could be easier than that? Upon completing the headband, I looked on Pinterest for tips on how to form the twist, when it was sewed together. It’s simple when you know how!
And so here it is: my first headband, and definitely not my last.
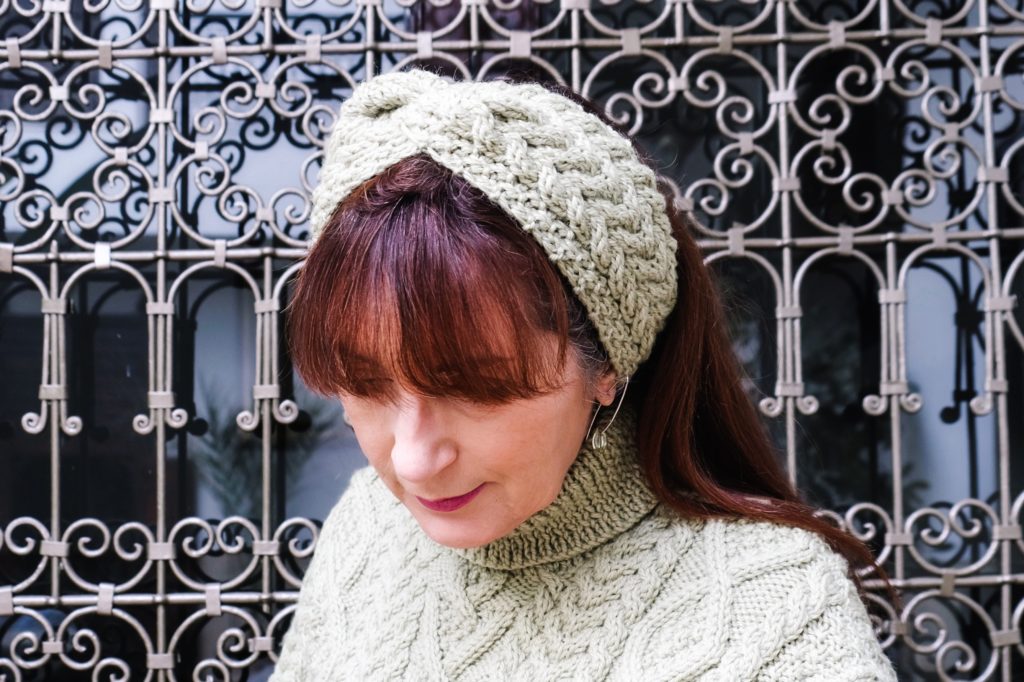
For anyone that would like to make it for themself, here is the pattern, as a little gift from me.
Happy knitting!
Michele x
HEADBAND KNITTING PATTERN
5 mm knitting needles + cable needle
1 x Hank Aran-weight wool (I used Rowan Magpie)
Tension 17-18 stitches to 23-25 rows (10 cm / 4” square)
Using 5 mm needles cast on 28 stitches
1st row
(K1, P1) 2 P1, K4, P1, K8, P1, K4, P1, (K1, P1)2
2nd row
(K1, P1) 2 K1, P4, K1, P8, K 1, P4, K1, (K1, P1) 2
3rd row
(P1, K1) 2 P1, C4F, P1, C4B, C4F, P1, C4F, P1, (P1, K1) 2
4th row
(P1, K1) 2 K1, P4, K1, P8, K1, P4, k1 (P1, K1) 2
These four rows form the cable. Keep knitting for approximately 22-24” / 56-61cm or when the headband feels comfortable for you. Cast-off in pattern.
To finish, you can simply join the band in the normal manner or add a twist
To learn how to make the twist, I followed instruction by Mirella Moments. Here is a link to her tutorial. https://pin.it/7qDShoW
ABBREVIATIONS
C4B = slip next 2 stitches onto cable needle and hold at back of work. K2, then K2 from cable needle.
C4F = slip next 2 stitches onto cable needle and hold at front of work. K2, then K2 from cable needle.




Leave a Reply